

The Diesel Particulate Filter (DPF) traps harmful soot particles from diesel exhaust, but over time, it can become clogged with soot and ash. This leads to a drop in performance, increased fuel consumption, and an illuminated check engine light.
In this comprehensive guide, we cover the step-by-step processes of DPF cleaning and DPF removal, brought to you by the expertise of North Tuned.
Section 1: DPF Cleaning (Regeneration and Chemical Methods)
DPF cleaning restores the filter’s efficiency without the need for complete removal, or by utilizing specialized off-vehicle washing techniques.
Step 1: Diagnosis and Inspection
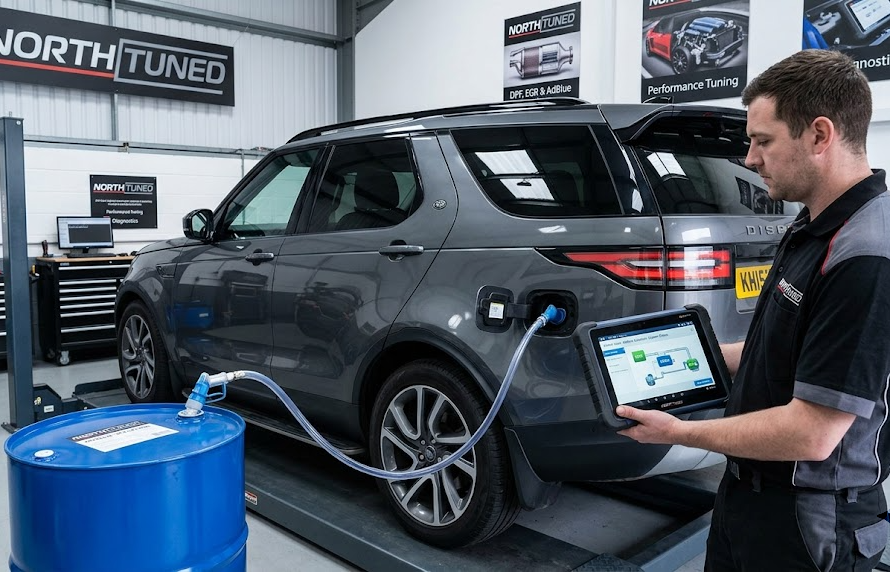
Read Diagnostic Trouble Codes (DTCs): Connect a diagnostic scanner to the vehicle’s OBD port to check for DPF-related errors (e.g., P2002).
Check Load Status: Analyze the DPF soot load percentage and differential pressure sensor data using live parameters.
Step 2: Driving-Assisted Regeneration (Active Regeneration)
Highway Driving: Drive the vehicle at a constant, slightly elevated RPM (approx. 2500–3000 RPM) for 20–30 minutes after the engine reaches operating temperature to burn off the soot.
Forced Regeneration: Using diagnostic equipment, trigger a stationary active regeneration cycle via the Engine Control Unit (ECU).
Step 3: Chemical Cleaning (Physical Intervention)
Removal: Carefully remove the filter from the exhaust system.
Chemical Treatment: Apply professional soot-dissolving chemicals into the core of the filter and let it soak.
High-Pressure Flushing: Wash out the loosened ash and soot using a pressurized back-flushing system.
Drying and Reassembly: Dry the filter, replace gaskets, and reattach it to the vehicle.
Section 2: DPF Removal (Physical Deletion and Software Remapping)
When the filter is damaged, beyond repair, or when preparing a vehicle for specific performance upgrades, DPF deletion is often applied.
Step 1: Physical Removal and Conversion
Detachment: Remove the DPF unit from the exhaust.
Core Evacuation or Downpipe: Hollow out the existing filter housing or replace the DPF section with a straight-through performance pipe (downpipe).
Step 2: North Tuned Software Solutions
After physical removal, professional ECU remapping is necessary to prevent error codes and limp modes:
DPF Delete File: Permanently disable the DPF regeneration cycles and related diagnostic trouble codes (DTCs) in the ECU mapping.
Sensor Calibration: Calibrate the exhaust gas temperature and differential pressure sensors to accommodate the modified system.
Important Note: At North Tuned, we emphasize compliance with local emissions regulations and environmental standards. DPF deletion processes are generally intended for track use or regions where legal regulations permit off-road modifications.

 English
  Turkish
  German
  Spanish
  Hindi
Hindi  Arabic
  Italian
  Greek
Greek  Vietnamese
  Chinese
  Malay
Malay